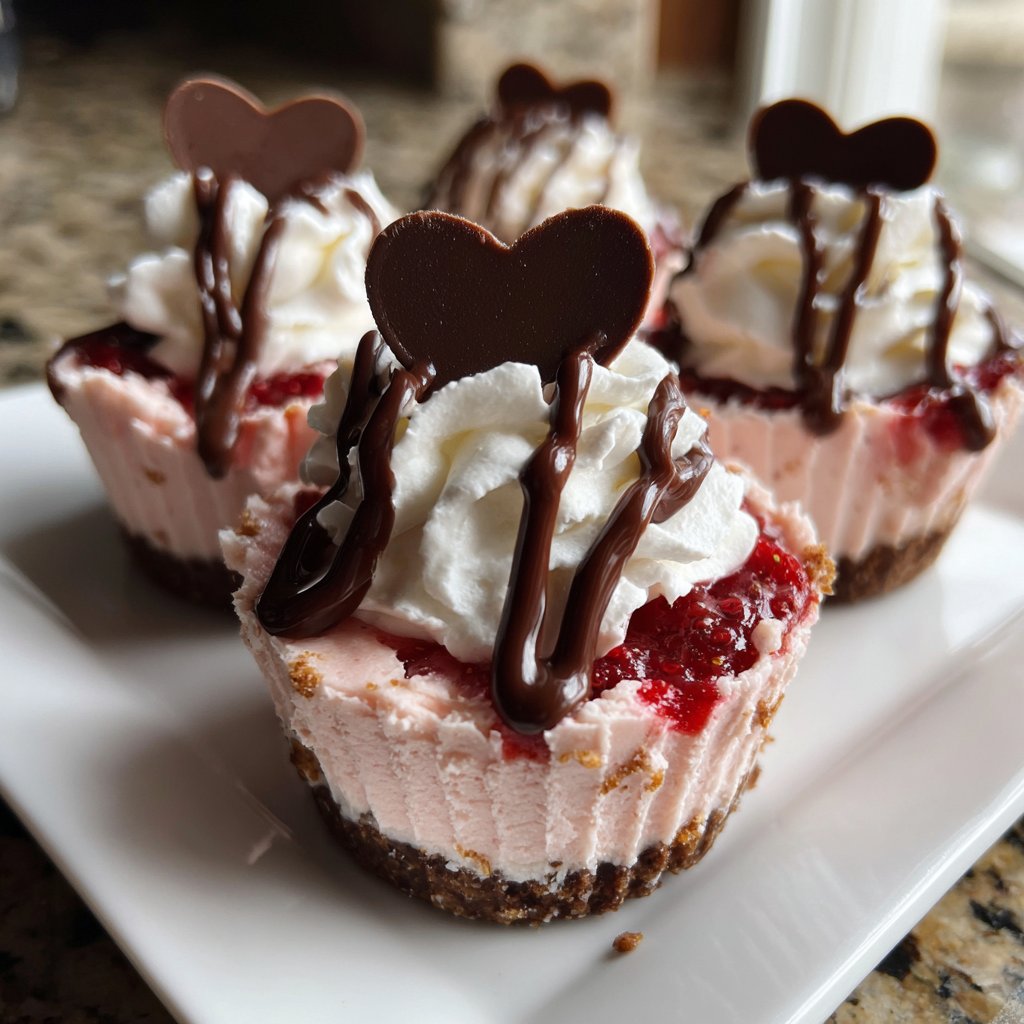
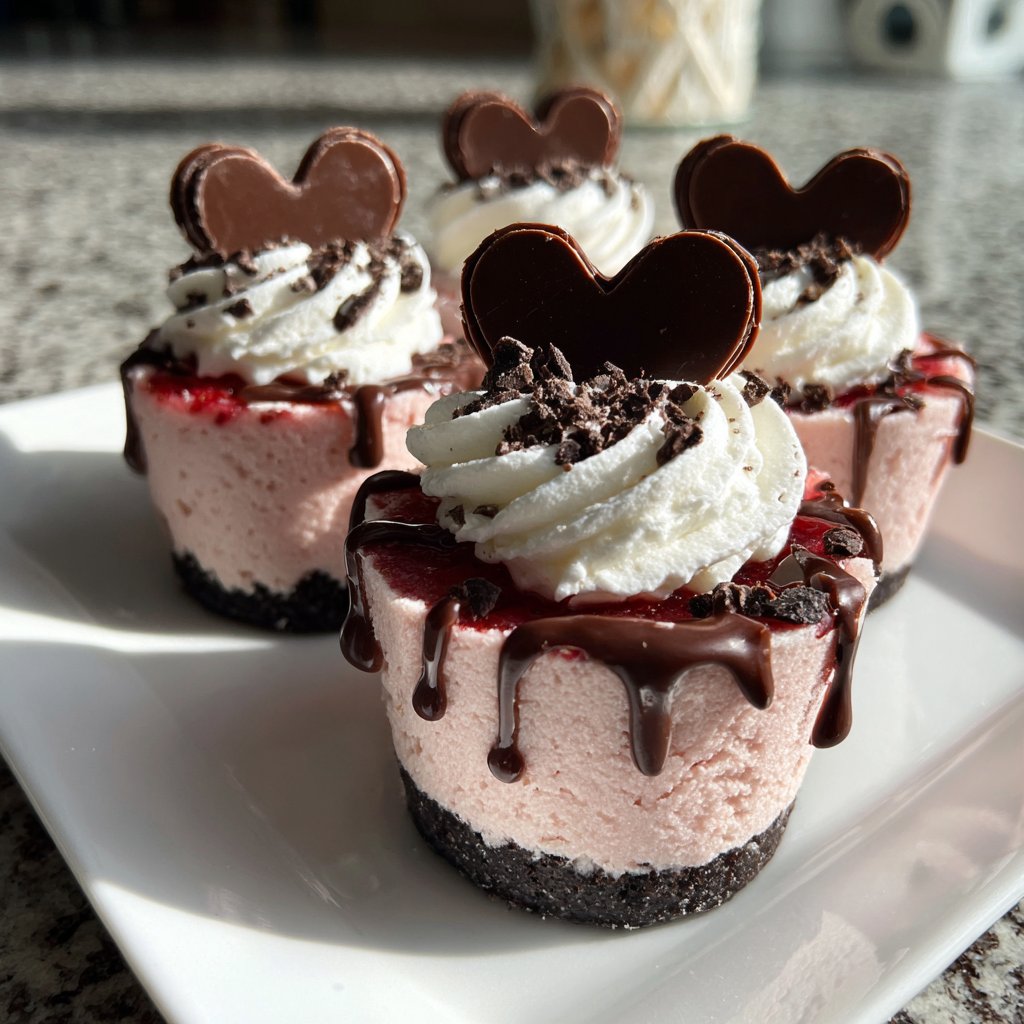
Valentines Snacks Mini Dessert Cups
Highlighted under: Heavenly Sweets
When I decided to make these Valentines Snacks Mini Dessert Cups, I aimed to create something that felt special yet easy to whip up for the occasion. Each layer bursts with flavor, combining sweetness and a hint of tartness that reminds me of intimate celebrations with loved ones. The best part? These delightful cups only take a short time to prepare, allowing us to spend more of the day together, enjoying good food and company. They are perfect for sharing and will undoubtedly bring smiles all around—let's dive into this mini dessert joy!
I can't help but smile whenever I recall the first time I made these mini dessert cups. The mixture of creamy vanilla pudding layered with fresh berries was an instant hit at our gathering. I love that the dessert is not just visually appealing, but the flavors meld harmoniously together, making every bite refreshing and delightful.
If you're looking to impress without spending hours in the kitchen, these dessert cups are the way to go. I found that using a little zest from citrus fruits enhances the flavors beautifully, adding a twist that everyone loves. They’re light, flavorful, and simply irresistible!
Why You'll Love This Recipe
- Adorable mini servings perfect for sharing
- Layers of creamy and fruity flavor that excite the palate
- Quick and simple preparation for stress-free snacking
Understanding the Ingredients
The foundation of these mini dessert cups lies in the vanilla pudding. The pudding mix not only provides the creamy texture but also serves as the dessert's backbone, balancing the tartness of the berries. Using whole milk will yield a richer, creamier pudding compared to lower-fat alternatives. Remember to whisk the pudding mix and milk thoroughly until it's lump-free—this prevents any gritty texture in the final product.
When selecting mixed berries, freshness is key. If using frozen berries, be sure to thaw them first to avoid excess moisture that can make the dessert cups soggy. You can also experiment with other fruits based on seasonal availability; peaches and mangoes offer a delightful tropical twist if you're looking for something different. The combination of flavors in these dessert cups is highly versatile, so feel free to tailor the fruit layers to your taste.
Layering Tips for Best Results
An essential part of making these mini dessert cups visually appealing is the layering process. Use clear cups or jars to showcase the beautiful colors of the pudding and berries. I suggest using a piping bag for the pudding if you want to achieve clean, defined layers—a squeeze bottle works well, too. This method not only looks great but helps ensure that every bite contains a mouthful of creamy pudding and juicy fruit.
It's crucial to let the pudding set adequately before assembling the cups. A quick chill in the fridge, about 5-10 minutes, will allow it to thicken, making it easier to layer without blending into the berries. If you’re facing a warm day, consider placing the dessert cups in the refrigerator while you prepare them to keep the pudding firm and stable during serving.
Ingredients
For the pudding:
- 1 cup vanilla pudding mix
- 2 cups milk
- 1/2 teaspoon vanilla extract
For the toppings:
- 1 cup mixed berries (strawberries, blueberries, raspberries)
- Whipped cream for garnish
- Mint leaves for decoration
Feel free to customize the berries based on your preference and seasonality!
Instructions
Prepare the pudding
In a medium bowl, whisk together the vanilla pudding mix and milk until smooth. Add the vanilla extract and mix again until well combined. Let it set in the fridge for about 5 minutes.
Layer the dessert cups
Once the pudding has set, grab your mini dessert cups. Start by adding a layer of pudding to the bottom, followed by a layer of mixed berries. Repeat until the cups are filled, finishing with pudding on top.
Garnish and serve
Top each cup with a dollop of whipped cream and a sprig of mint for a beautiful presentation. Serve immediately or chill until ready to enjoy!
These dessert cups can be made ahead of time; just hold off on adding the whipped cream until serving.
Pro Tips
- For an added crunch, consider adding crushed graham crackers or cookie crumbles between the layers. Also, make sure to use fresh, ripe berries for the best flavor!
Storage and Make-Ahead Options
One of the best aspects of these mini dessert cups is their make-ahead convenience. You can prepare the vanilla pudding up to two days in advance; just keep it covered in the fridge to maintain its freshness. Layer the cups no more than a few hours ahead of time to ensure that the berries remain vibrant and the pudding doesn't get watery. A quick tip: if you're anticipating leftovers, keep the whipped cream separate and add it right before serving to maintain its light texture.
For longer storage, these dessert cups can last in the refrigerator for up to 3 days. However, to avoid sogginess, it's best to store any leftover layers separately. If you'd like to freeze them, consider omitting the freshly added fruit and whipped cream. Instead, freeze the pudding layer in airtight containers for up to a month. Simply thaw in the fridge overnight, then layer the fresh fruit before serving.
Serving Suggestions and Variations
These dessert cups can be dressed up further by customizing the toppings. Adding a drizzle of chocolate or a sprinkle of crushed nuts gives a delightful contrast in texture and flavor. If you want a richer dessert, consider using chocolate pudding or even a cheesecake layer in place of the vanilla pudding. You can also swap out the berries for other fruits like caramelized bananas or citrus segments for a refreshing twist.
For an adult version, try infusing the pudding with a splash of liqueur, such as Amaretto or Grand Marnier, to provide an enhanced flavor profile that pairs beautifully with the berries. This adds an extra layer of sophistication, making these cups not only cute but also impressive for intimate gatherings or special occasions.
Questions About Recipes
→ Can I prepare these dessert cups in advance?
Yes, you can prepare the pudding and layers a few hours ahead. Just assemble them and refrigerate until you're ready to serve.
→ What other fruits can I use?
You can use bananas, mangoes, or even peaches. Any fruit that you enjoy will work beautifully!
→ How long can these dessert cups be stored?
They are best enjoyed fresh, but can be stored in the fridge for up to 2 days.
→ Can I make this recipe dairy-free?
Absolutely! Substitute dairy milk with almond milk and opt for a dairy-free pudding mix.
Valentines Snacks Mini Dessert Cups
What You'll Need
For the pudding:
- 1 cup vanilla pudding mix
- 2 cups milk
- 1/2 teaspoon vanilla extract
For the toppings:
- 1 cup mixed berries (strawberries, blueberries, raspberries)
- Whipped cream for garnish
- Mint leaves for decoration
How-To Steps
In a medium bowl, whisk together the vanilla pudding mix and milk until smooth. Add the vanilla extract and mix again until well combined. Let it set in the fridge for about 5 minutes.
Once the pudding has set, grab your mini dessert cups. Start by adding a layer of pudding to the bottom, followed by a layer of mixed berries. Repeat until the cups are filled, finishing with pudding on top.
Top each cup with a dollop of whipped cream and a sprig of mint for a beautiful presentation. Serve immediately or chill until ready to enjoy!
Extra Tips
- For an added crunch, consider adding crushed graham crackers or cookie crumbles between the layers. Also, make sure to use fresh, ripe berries for the best flavor!
Nutritional Breakdown (Per Serving)
- Calories: 150 kcal
- Total Fat: 5g
- Saturated Fat: 3g
- Cholesterol: 15mg
- Sodium: 120mg
- Total Carbohydrates: 22g
- Dietary Fiber: 1g
- Sugars: 10g
- Protein: 3g